Accessories
Loose-Leaf Tea Accessories Every Beginner Actually Needs (and What to Skip)
Most tea drawers fill up in the wrong order. The infusers arrive first, three of them, all slightly disappointing, and the good leaves come later, if at all. Loose-leaf tea doesn't ask for much. Four small pieces of equipment cover nearly everything you'll brew in your first year, and none of them need to be expensive.
What matters is that the gear fits how you actually make tea: one mug at a time, at the kitchen counter, with a few minutes to spare.
An Infuser That Gives the Leaves Room
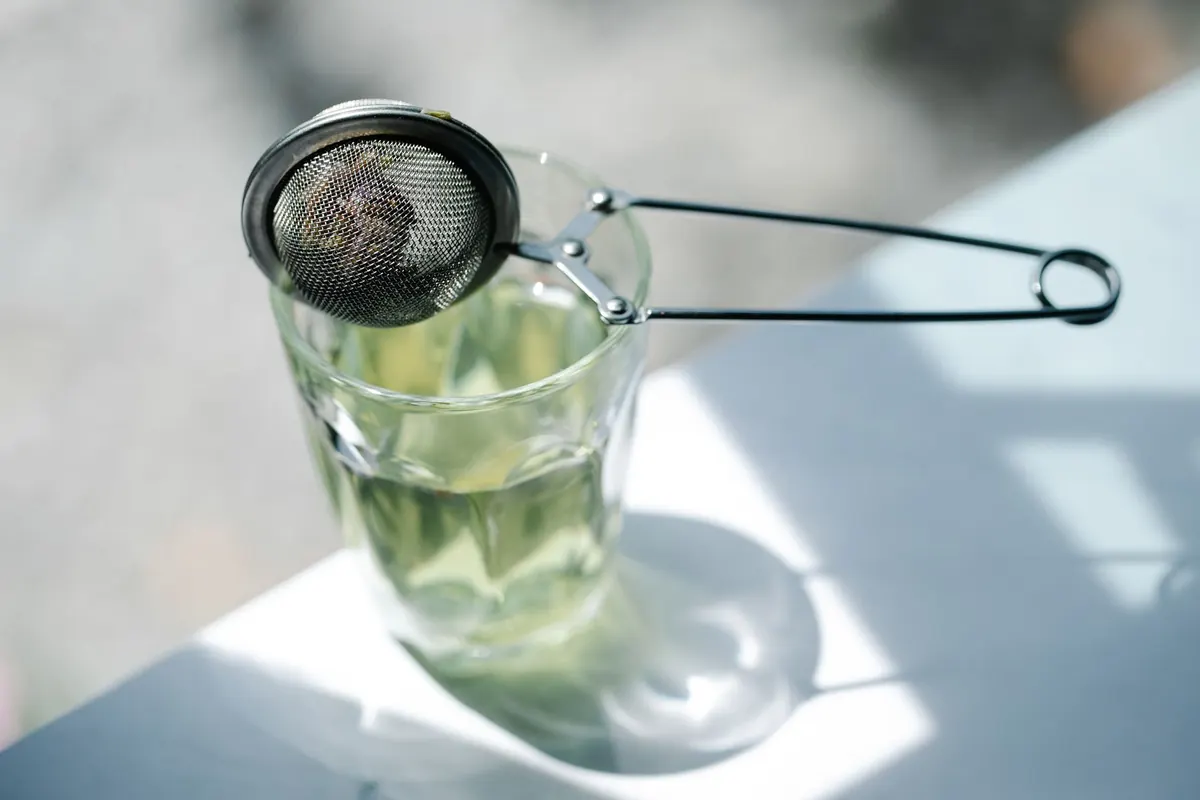
Leaves need water moving around them. In a cramped basket or a pinched metal ball, some leaves barely get wet while others sit in a concentrated pocket and turn bitter. The fix is a stainless basket infuser with fine mesh and enough depth for the leaves to swell.
What to look for
- Fine mesh, or perforations small enough that broken leaf doesn't escape into your cup.
- A rim wide enough to rest on your mug without tipping in.
- Depth of at least a couple of inches, so leaves can expand instead of pressing against the metal.
- A lid or handle you can lift without scalding your fingers.
Skip squeeze-ball infusers. They crush the leaves, pinch your fingers, and the hinge is miserable to clean. Novelty silicone shapes have the same problems plus another one: silicone holds on to whatever it steeped last. A plain French press works well if you already own one, as long as you plunge slowly and pour everything out so the leaves don't keep steeping. Rinse whichever tool you use within a minute or two of brewing. Dried-on leaves are the main reason people decide loose tea is fussy.
A Scoop, and the Honest Case for a Scale
A one-tablespoon scoop is enough to start. As a rough guide, most teas work at about one teaspoon per eight-ounce cup, which lands near two to three grams of leaf. Volume is imprecise, though: a tablespoon of long twisted oolong weighs far less than a tablespoon of fine black fannings, so adjust by taste rather than by rule.
A scale earns its place only if you like repeating a cup exactly. A basic kitchen scale that reads to a tenth of a gram is plenty, and it's genuinely useful when you're comparing two teas side by side or trying to recreate the best cup you made last week. Whatever you use, keep it dry. A damp scoop dipped back into the tin adds moisture, and moisture is what turns fresh tea flat.
A Timer You'll Actually Use
Your phone already has one, and that's usually the right answer. The habit matters more than the gadget: start the timer before you pour, and take the leaves out when it sounds. Leaving a basket sitting in a mug for another ten minutes is the fastest way to ruin tea you paid good money for.
Rough starting points
- Green tea: 2 to 3 minutes at 70–80°C (160–175°F)
- White tea: 4 to 5 minutes at 80–85°C (175–185°F)
- Oolong: 3 to 5 minutes at 85–95°C (185–205°F), shorter for light styles
- Black tea: 3 to 5 minutes near boiling
- Herbal blends: 5 to 7 minutes at boiling
These are starting points, not rules. If a cup tastes harsh, shorten the next steep or use cooler water. If it tastes thin, add a little more leaf. Write the time that worked on the tin with a strip of masking tape. You will not remember it, and the tape saves you from re-learning the same tea every week. For a second or third infusion, switch your timer to count up and taste as you go.
Tins That Keep Tea Fresh Longer
Tea goes stale through air, light, heat, moisture and nearby smells. An airtight tin is the cheapest way to protect the leaves you already bought. Look for opaque metal with a double lid, sized so you'll finish the tea within a month or two of opening it. Two small tins beat one big one, and each tea deserves its own container. A smoky lapsang will happily find your delicate green.
Storage mistakes worth avoiding: glass jars on an open shelf, plastic bags folded over with a clip, the fridge (unless the tea is vacuum-sealed, since condensation does more damage than room temperature), and the shelf above the stove. Label every tin with the tea's name and the date you opened it.
What to Skip
- Squeeze-ball and novelty infusers. They cost little, and they also make tea you won't enjoy.
- Pod-style tea machines with a dozen settings. More parts to rinse than time saved.
- Gongfu sets and teapot collections bought before you know which teas you like. Learn one brewing method first.
- Matcha whisks, bowls and sifters if you don't already drink matcha.
- Self-heating mugs and app-connected kettles. A simple variable-temperature kettle is genuinely useful for green and white tea. The rest is decoration.
- Tea pets, tongs, needles and strainers. Charming, and completely optional in year one.
The test for any accessory: can you clean it in under a minute, and does it change how the tea tastes? If the answer to either is no, it can wait.
A Beginner's Shopping Order
- Pick two teas you're curious about, in small amounts.
- Buy one basket infuser that fits the mug you use most.
- Add a scoop and two airtight tins, one per tea.
- Use your phone as a timer, then tape the working steep time to the tin.
- Brew the same tea three days running, changing one thing each time, more leaf or less time or cooler water, to learn what you actually prefer.
Spend More on Leaves Than on Gear
Everything above fits in a corner of a cabinet and costs far less than most beginners expect. The bigger budget line should be tea itself. Better leaves in a plain basket will beat mediocre leaves in fancy equipment every time.
Give it a few weeks of steady brewing before buying anything else. If green tea becomes a daily habit, a variable-temperature kettle will earn its counter space. If friends start drinking tea with you, a small pot might make sense. Otherwise, keep the drawer light and put the money in the tin.
Photo: Anna Pou / Pexels
Related Articles